To keep the DNAnexus platform easy enough for anyone to use and powerful enough for expert users, our team has made some layout and user interface (UI) changes. While these updates are relatively minor, they make the platform look different than you might be used to, so we’ve outlined them below to help you find your way around and see what’s new.
The first thing you’ll probably notice is that the user interface looks cleaner, flatter, and more modern. The visual updates to the interface make it easier to look at and faster to find what you’re looking for. Primary actions will be on the right of the screen and be immediately noticeable. Certain areas of the site won’t have this updated look yet, but every part of the site is getting revamped in the next few months, so if it hasn’t changed yet, it will soon.
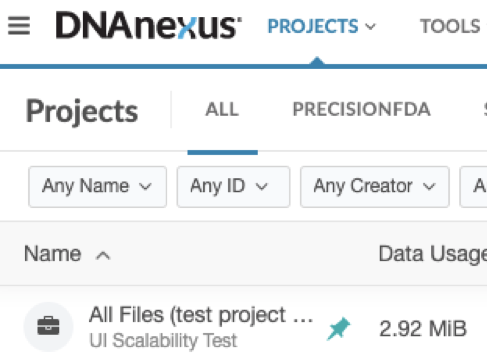
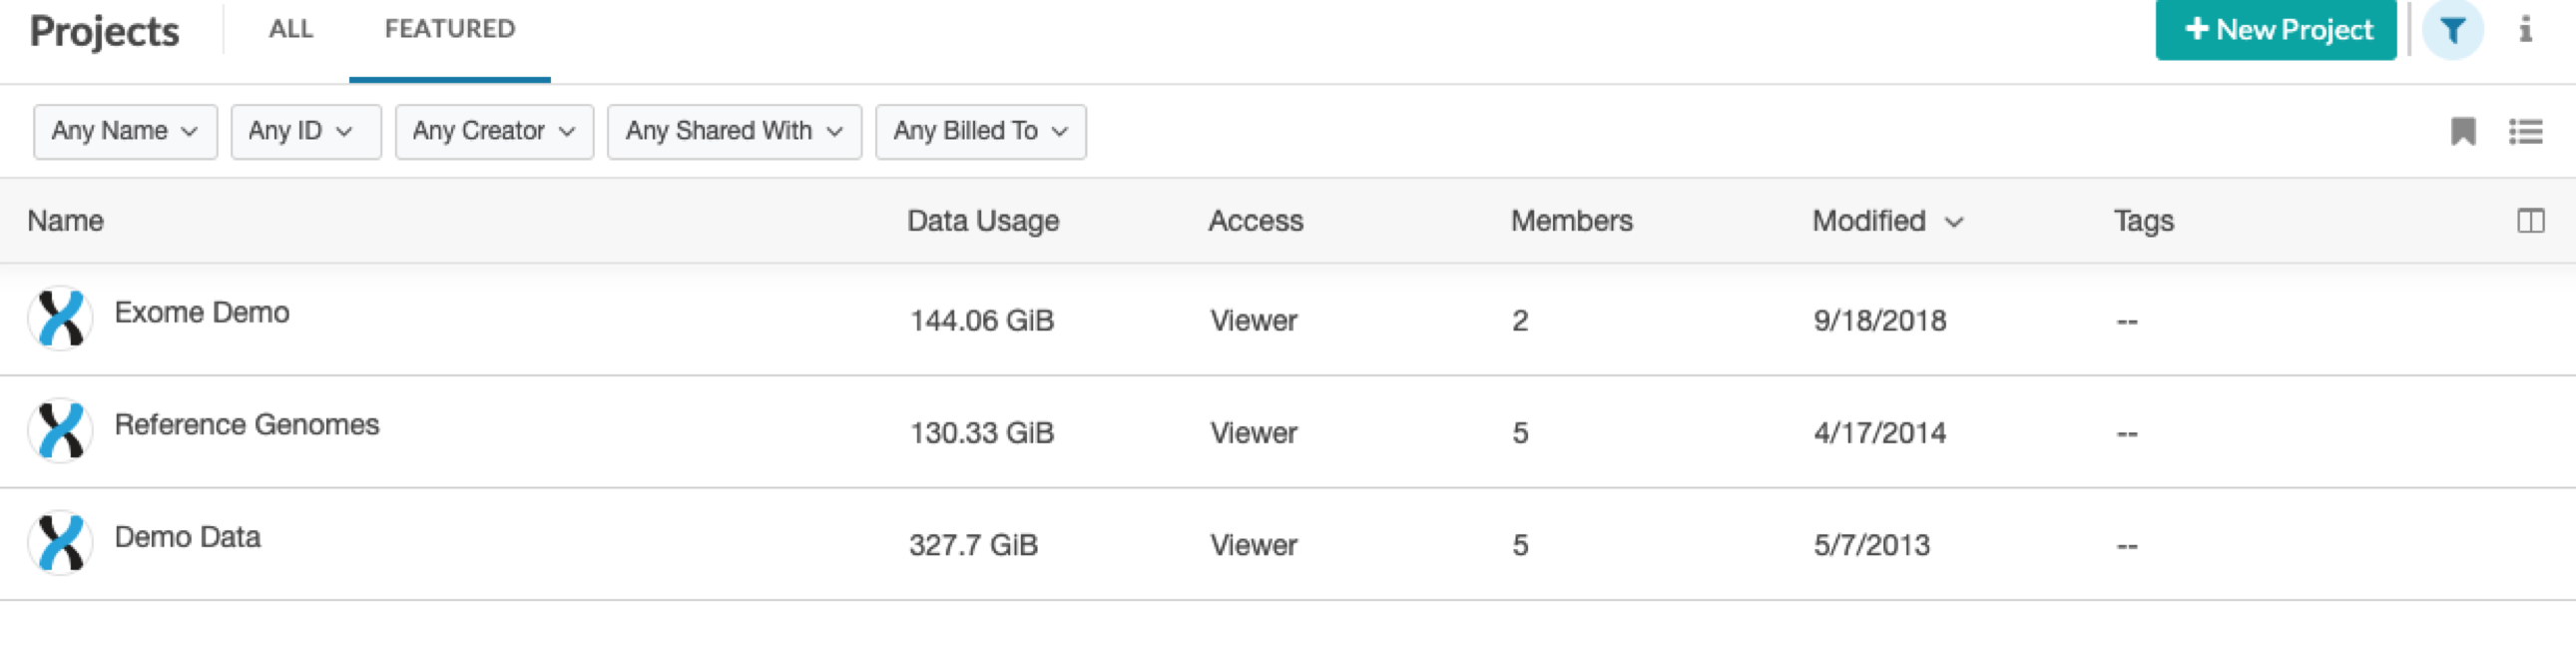
We have redesigned the Project list page with an easily filterable list of all your projects. A new “pin” feature allows you to mark your favorite projects and they will remain on top of the list!
Projects now display a line of summary text in the main list. You can add even longer text in the Descriptions section of the Info panel.
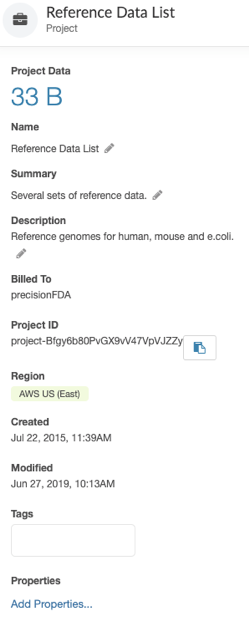
We have added a new “info” panel which allows you to quickly inspect any project when you select its row. The info panel can be opened by clicking the “i” icon in the upper right. This shows information (metadata, project settings, project size, etc.) which is also available in the Project Settings. Now you can access this information directly from the Project list page. The info panel also lets you easily copy the project ID.
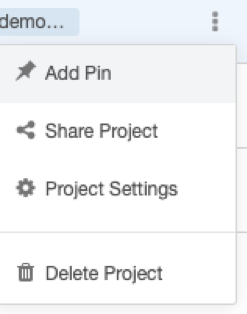
The context (three-dots) menu in each row gives you a shortcut to Leave or Delete a project (depending on your access level), share, pin and view project settings.
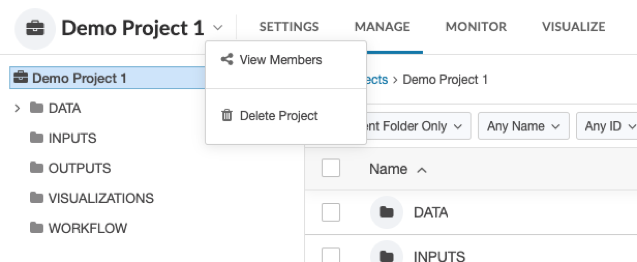
To view the contents of a project, click the project name and you will enter the Data Manager section.
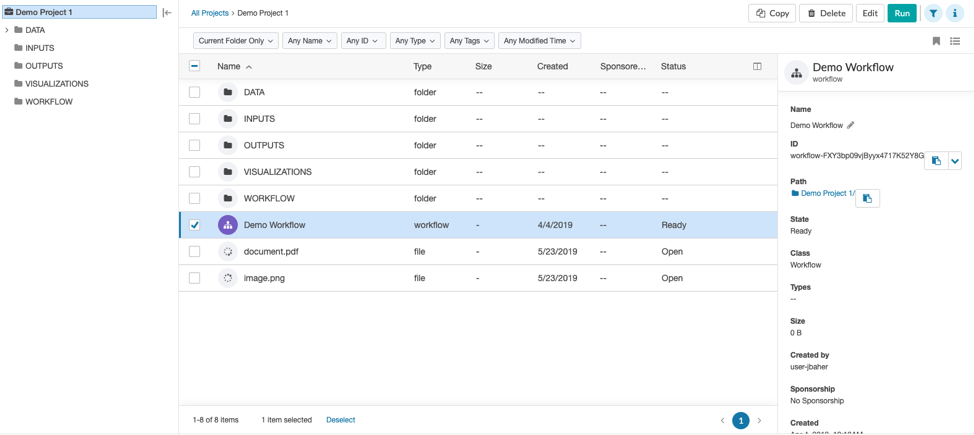
The Manage section has many enhancements. Next to the Project name there is now a menu for quick access to common tasks such as Sharing projects. Also task such as Leaving or Deleting a project (tasks formerly found in Settings) are in the menu.
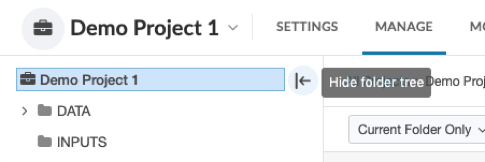
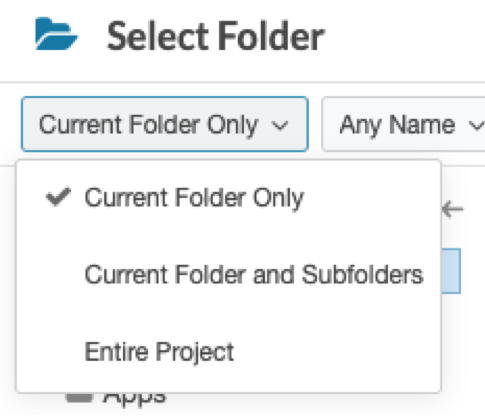
Project navigation has been enhanced with a collapsible tree as well as fully functional breadcrumbs.
All action buttons have been consolidated to the right side of the screen (New Folder, New Workflow, Upload Data, Add Data, Copy data from project, Start Analysis)
The filter bar has been redesigned and now defaults to searching within a project.
We have added a new “info” panel which allows you to quickly inspect any file. The info panel can be opened by clicking the “i” icon in the upper right. You can then select any item, or multiple items, to display their properties. This shows information previously found in the info pop up window.
You can easily copy a file or path ID from this side panel by clicking the copy icon.
Tables are now paginated.
New folders will now be created and show at the top of the list. After you enter a name, it will move to the appropriate place in the sort order.
Projects can be renamed in the Settings tab or in the Info panel on the main project list page.
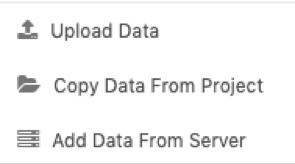
The data uploading dialog has been split into three discrete functions.
The ability to apply tags and properties in the dialog has been removed. Tags and properties can easily be added in the new Info panel. Select multiple items to apply the same tag or property to multiple objects at once.
Note: Settings & Visualize tabs are the same with minor visual updates.
The Featured projects section has been removed and the projects in Resources have been updated to have useful reference files and demo data.
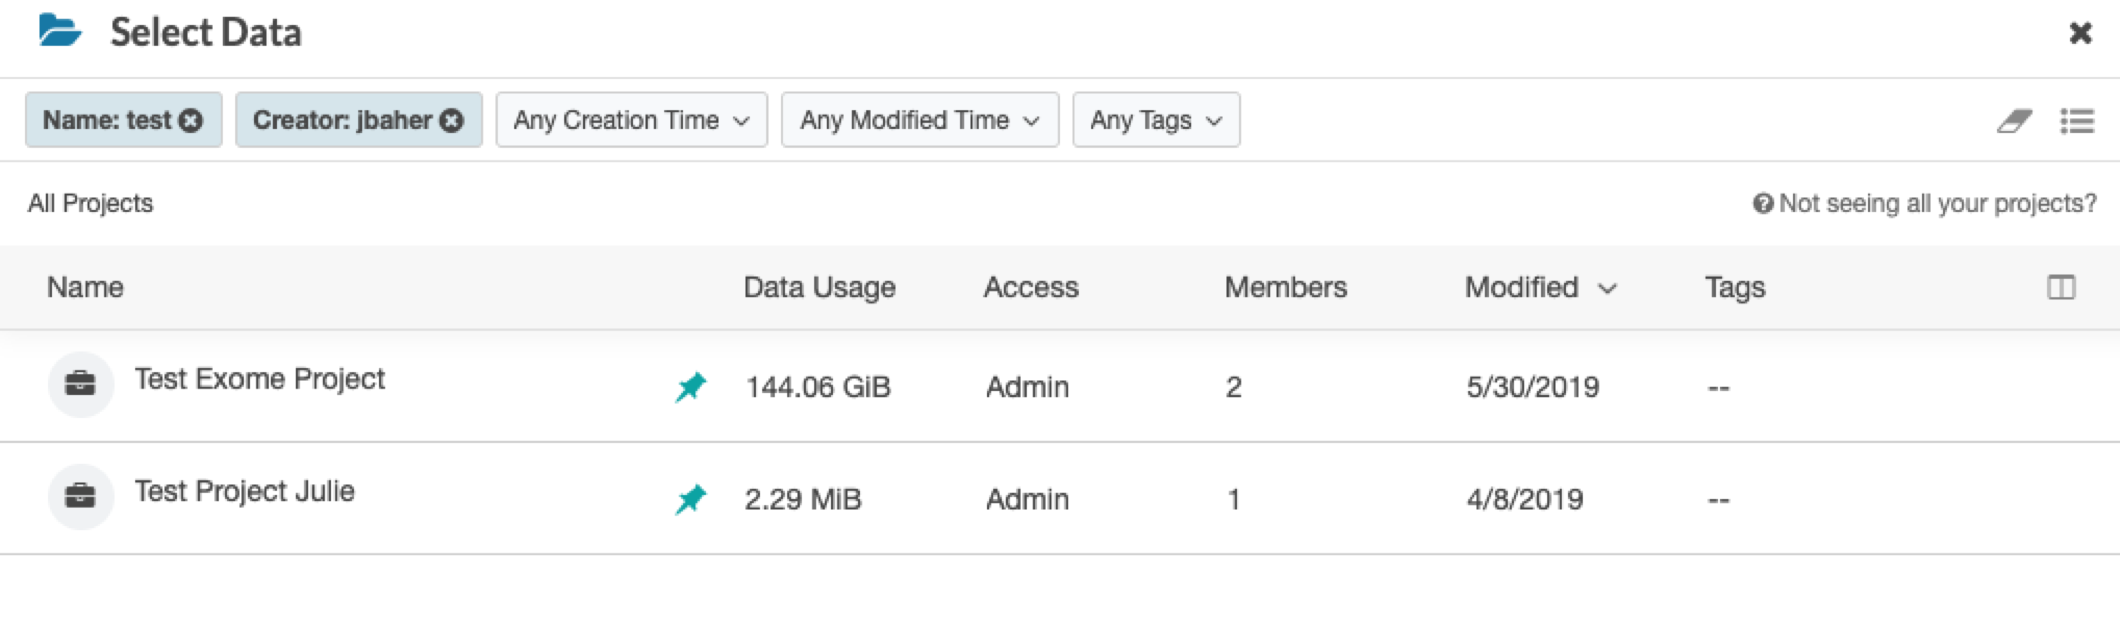
The Data Selection dialog appears when you copy data, select projects or paths during app runs, and select inputs for workflows. It now allows you to filter, add/remove columns, and view pinned items.
Within a project, filters allow for easier filtering to find files.
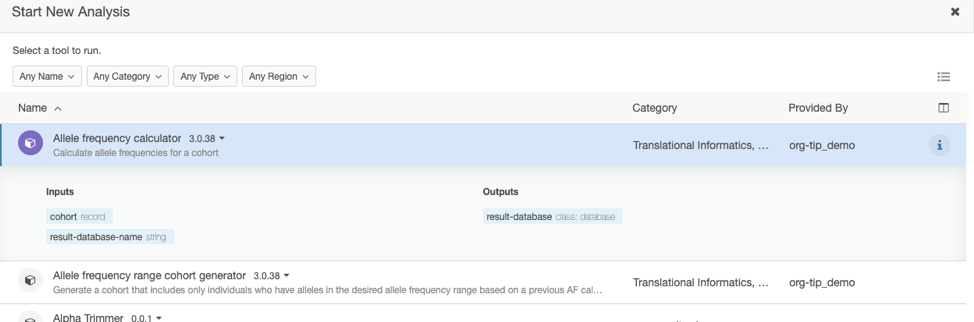
The start analysis dialog has enhanced to improve usability. It has the familiar filtering mechanism to easily locate an app, applet workflow or global workflow. You can now see the category and the author of the analysis tool. By selecting a row and opening the “i” Info panel, you can still view the inputs and outputs.
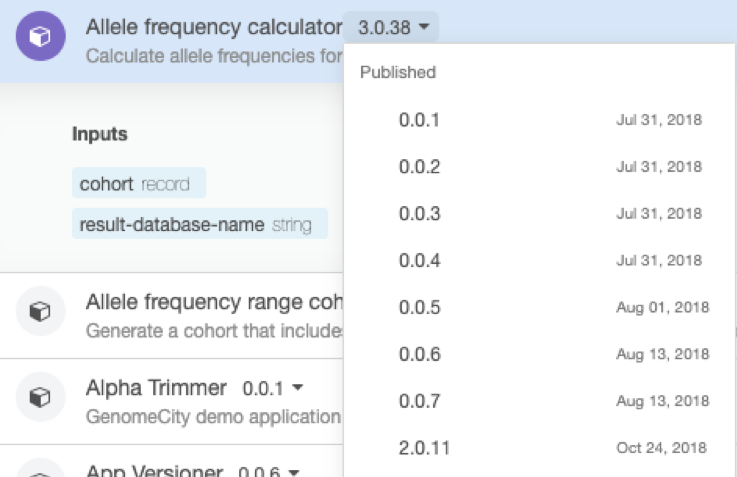
Version can be toggled in the dropdown:
Open the tools details to see full information provided by the tool developer.
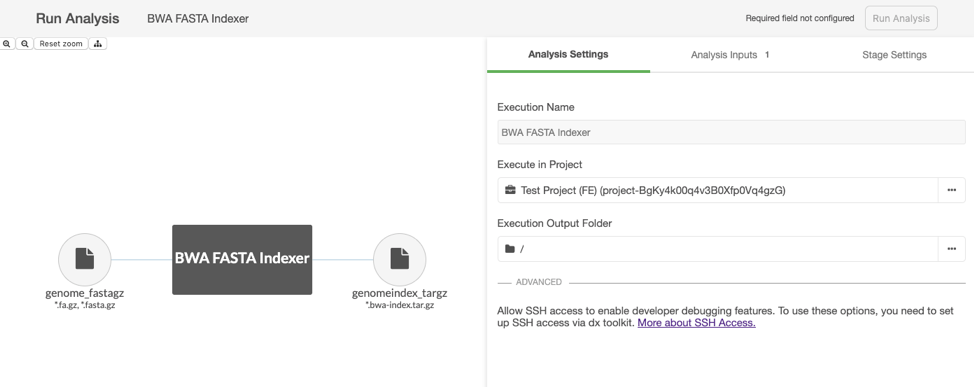
The Tool Runner has been enhanced with a graphical representation of the analysis process. Each app or workflow has three areas that a you can configure: Settings, Analysis Inputs, Stage Settings.
Settings includes execution name, project location, output folder and optional advanced features.
Analysis inputs is where you can select appropriate inputs and can toggle to batch mode. Also, you can now view all inputs in one location.
Stage Settings contains information about each stage of a workflow, including app version, instance type and output folder. You can change these as desired.
The Monitor Tab also has a fresh look with updated filter bar UI and action buttons consolidated to the right side.
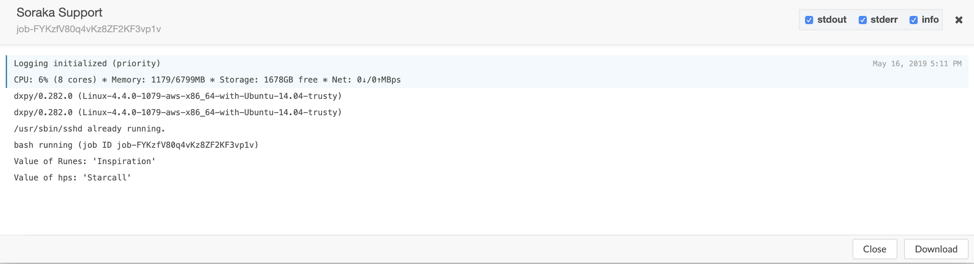
On the monitor details page, several actions have been moved or temporarily removed.
You can copy an execution ID to the clipboard by clicking the icon next to the ID.
Logs have a new Download button feature: